The Tesla Semi Paper model has been released
November 30th, 2017Talk about a fun truck to make. I just released the Tesla Semi paper model – so now you don’t have to wait for the year 2020. (If it’s now 2020 while you’re reading this, you have my apologies for getting some details incorrect. I used the video stills from the big unveiling event as reference material, and shots from the back were lacking.)
I had to start out freehand on this one. I opened up Adobe Illustrator and did my best drawing of the profile, using what images I could find. When I had it where I wanted it, I moved into my favorite 3D program, Rhinoceros. After a time, I had what I figured was a pretty god simplified model. I try to capture the spirit of the real thing, as much as possible, but I try to keep things simple enough for the common man to build, if he is reasonably patient.

I spent a lot of time on the fenders. I wanted some curves, but obviously compound curves don’t work so well in paper. About three separate models later I was happy with how it would go together. The next step is to explode the 3D model and unfolded every part.
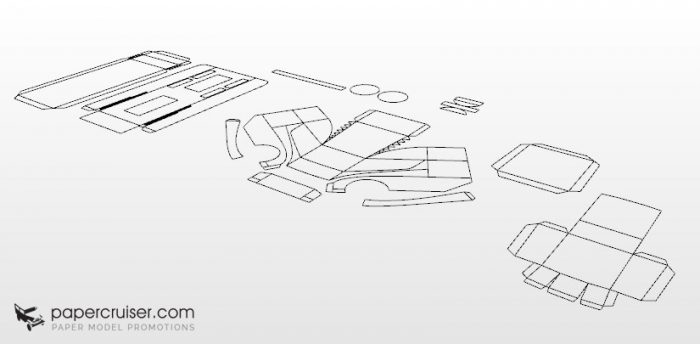
Then I export those lines and bring them back into Illustrator. I arrange them and scale them to fit on a few pages. I add and change some of my tabs, making decisions on the fly. When I’m ready I print and build my first test, just to see if I have the curves right.
The more complex the curves are, the less likely I am to get them right on the first print. I didn’t even take a picture of the first printout, and it wasn’t worth looking at, but it was very valuable in getting the forms right. All of my Instagram followers watched as I went through this process. If you follow me on Instagram, you’ll see all of my latest build photos.
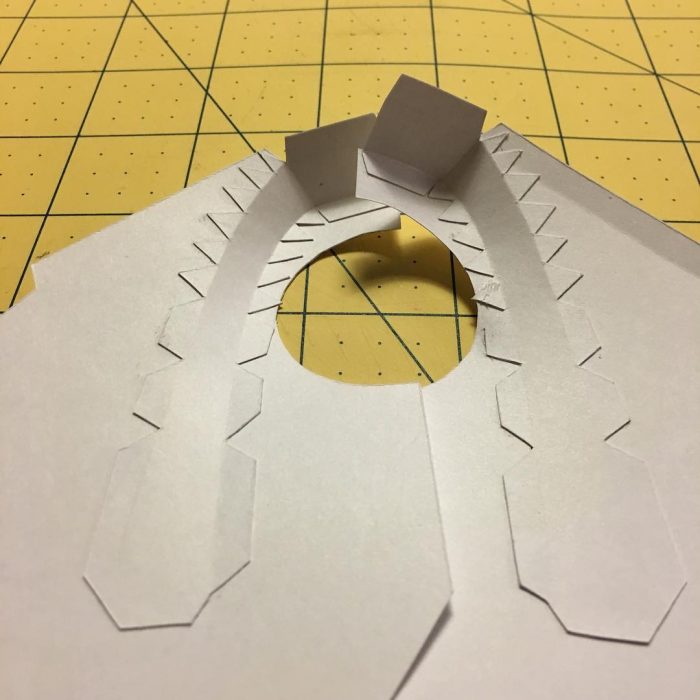
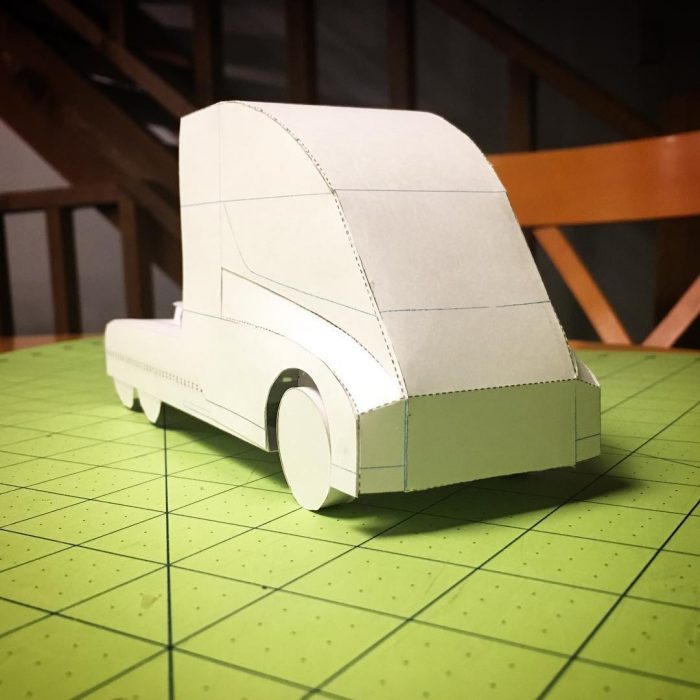
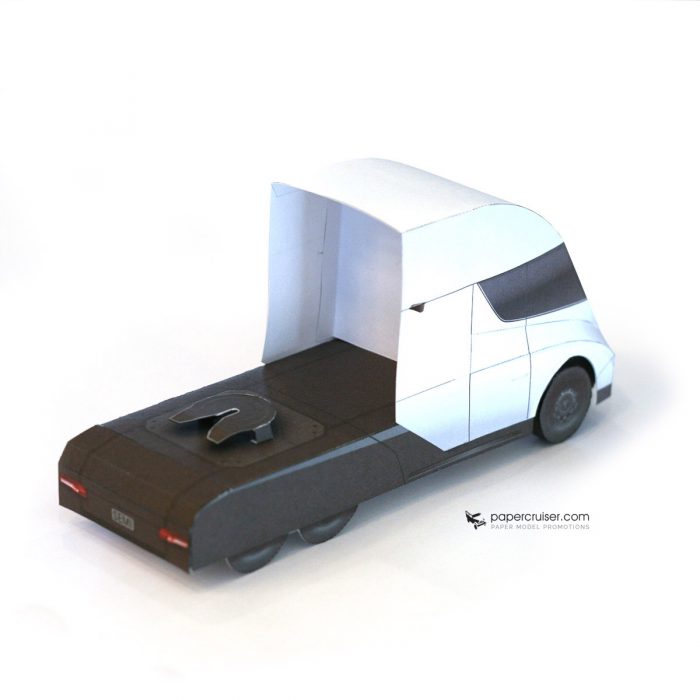
At this point I was happy with the curved fender/sides, and this is a photo of the back side. I’m not shooting or absolute realism, I’m trying to achieve a balance between good looks and buildability.
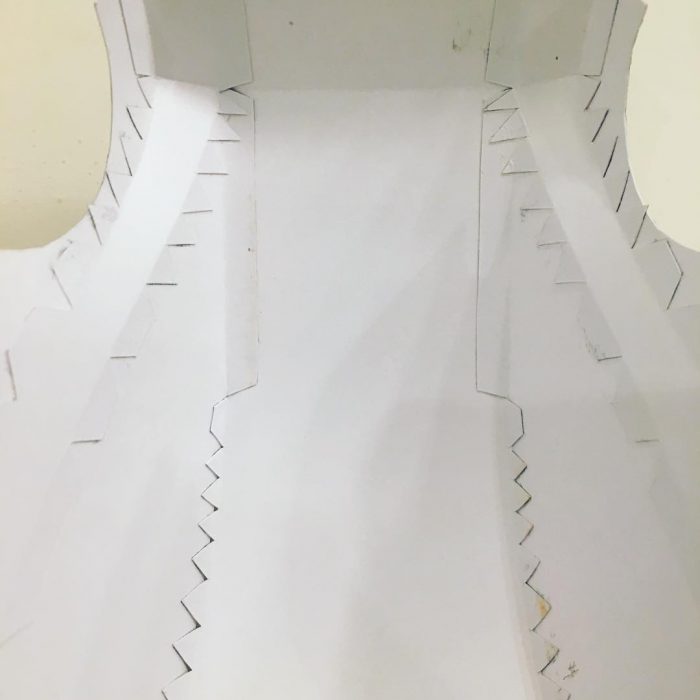
This next photo is the inside of the cab.
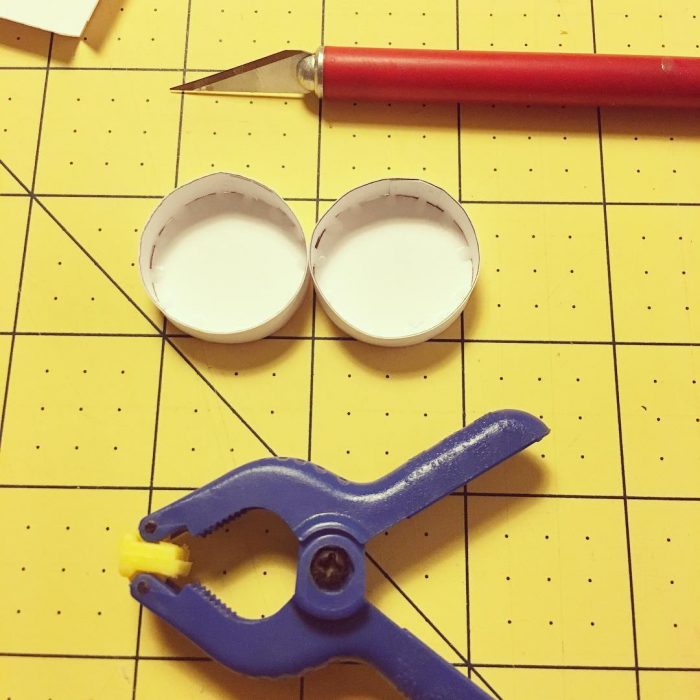
I don’t even bother with wheels until I’m getting really close to final on the body of my paper models. Wheels are wheels – paper cylinders, and I’ve built too many to count.
Here’s the first three prototypes:
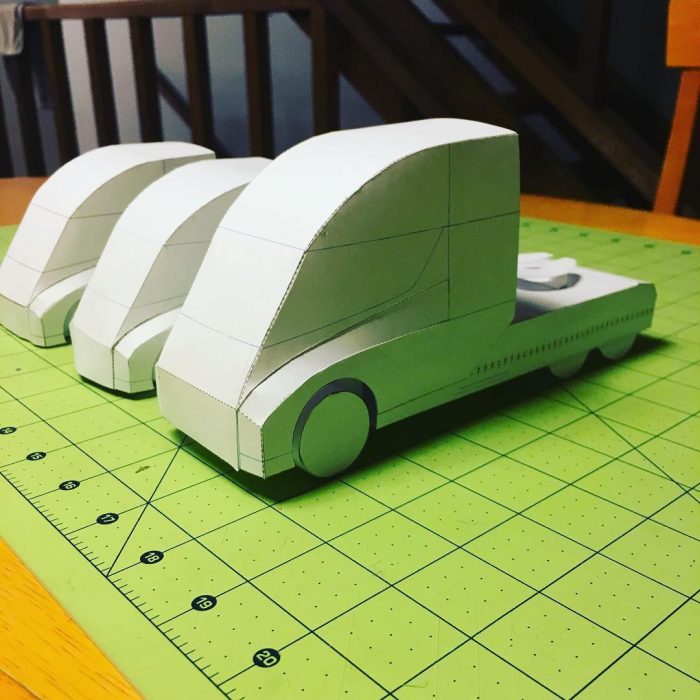
I was a little concerned with the size of the wheels – They are about 1 inch tall no this model. That’s small, so I did build them and experimented with a couple of other wheel-building methods before settling on my standard method as the easiest to build.
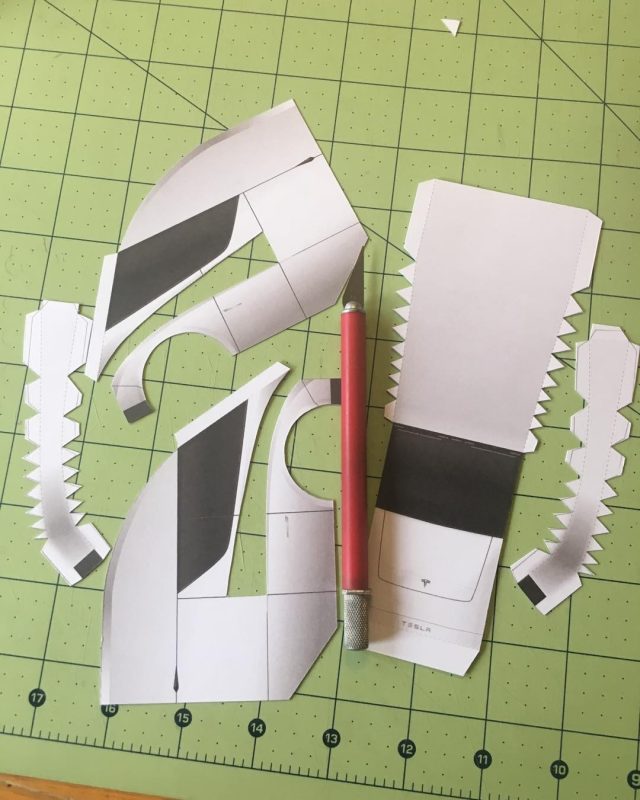
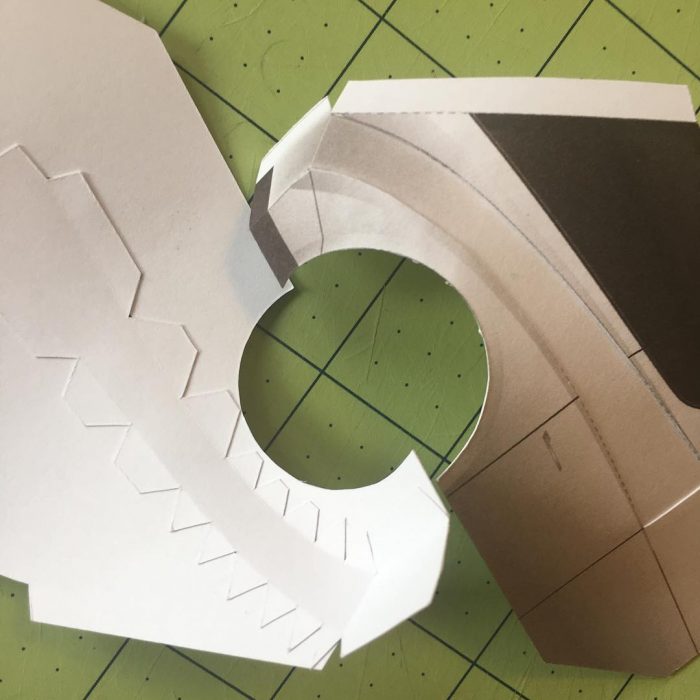
Once I was happy with the form of the model, I started the artwork, and it was exciting to print out the first “colored” parts. Here you can see them cut out, and see how the fenders ended up. They are a lot easier to build than you’d think.
Front and back:
Built Fenders: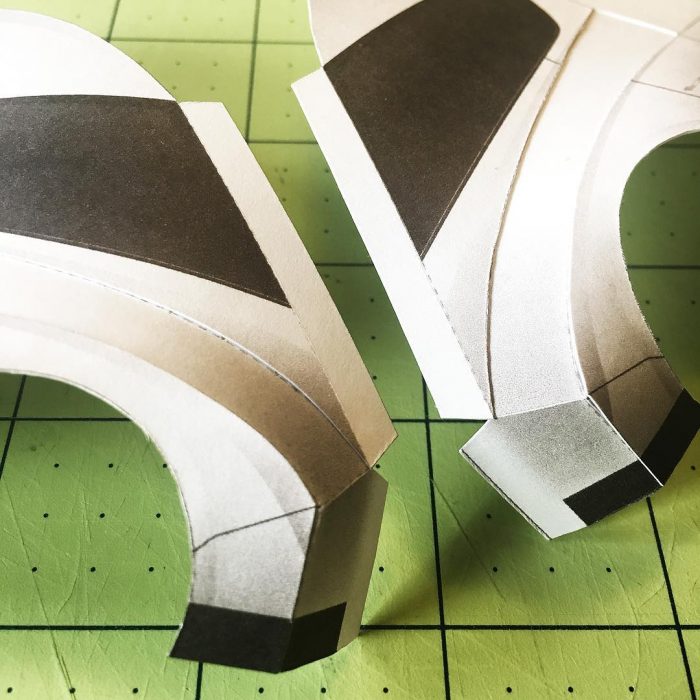
Finishing my first colored prototype is a fun moment, but the work doesn’t stop there.

At this point I’m tweaking art, aligning things better to account for paper thickness and other issues. I built another colored prototype. I could just about build this model blindfolded!
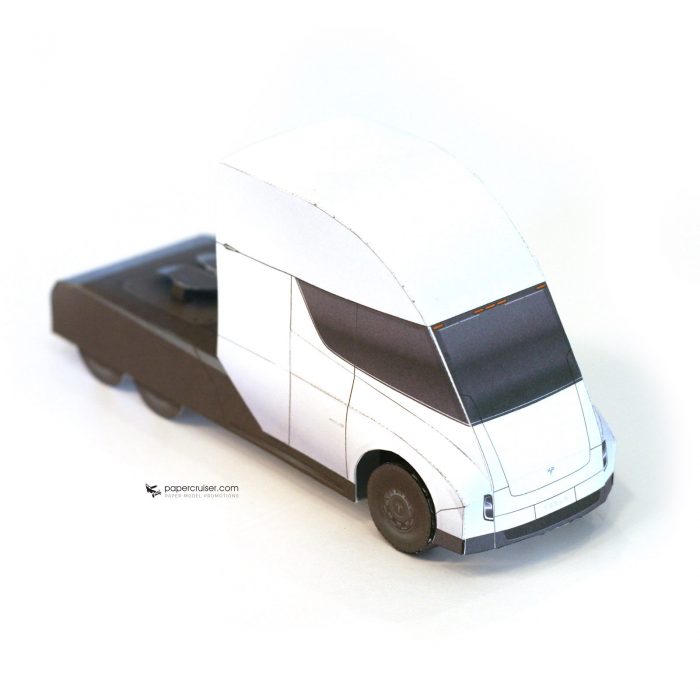
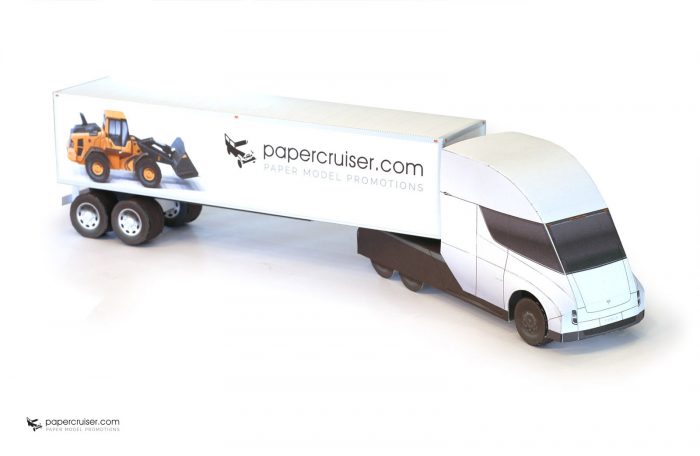
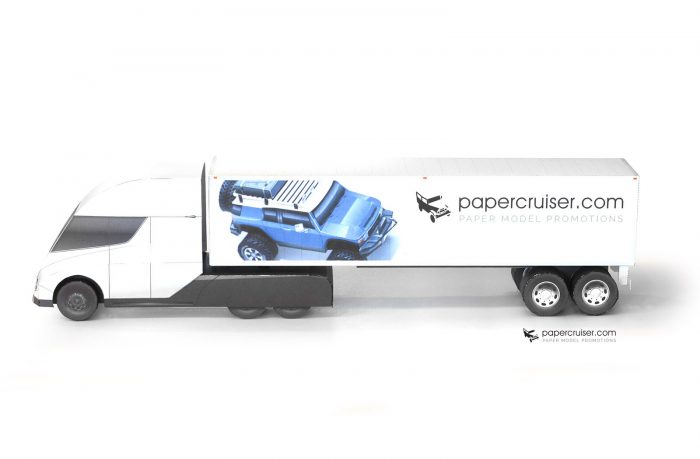
This is the final model – it turned out very well considering I didn’t have proper photographic reference to work from. I had to scale it down again to get the trailer onto a letter size sheet of paper. I built it yet again to make sure it didn’t get any harder to build.
I hope you enjoyed reading about the process of designing a paper model. The Tesla Semi Truck paper model is available here on papercruiser.com if you would like to own one!
Tags: electrictruck, tesla, tesla model, teslamodel, teslasemi, teslatruck
Posted in paper models, papercraft | No Comments »