Promotional paper model: the JCB Hydradig Excavator
November 12th, 2016![]() I don’t often create construction equipment, but when Greenshields JCB contacted me about making the Hydradig, the world’s first wheeled excavator, I was thrilled to accept the challenge.
I don’t often create construction equipment, but when Greenshields JCB contacted me about making the Hydradig, the world’s first wheeled excavator, I was thrilled to accept the challenge.

It’s a complex machine with lots of parts. Their goal was to make a model that was easy to build. With this goal in mind, I managed to simplify this model down to a total of 14 parts on two A4-size pages. Here’s how:
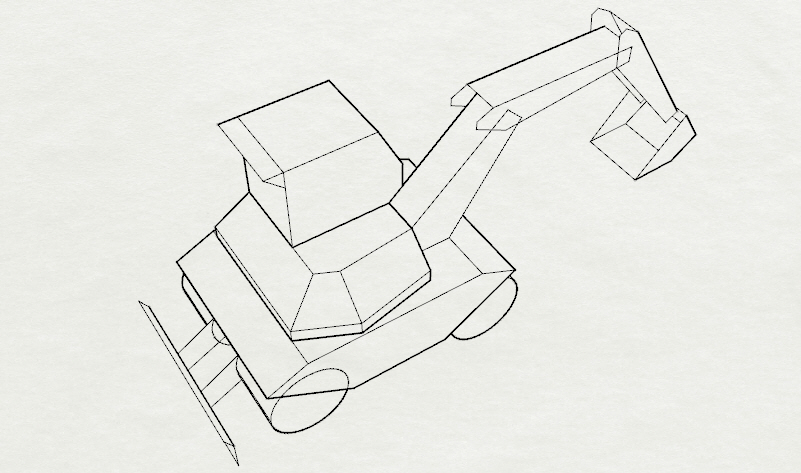
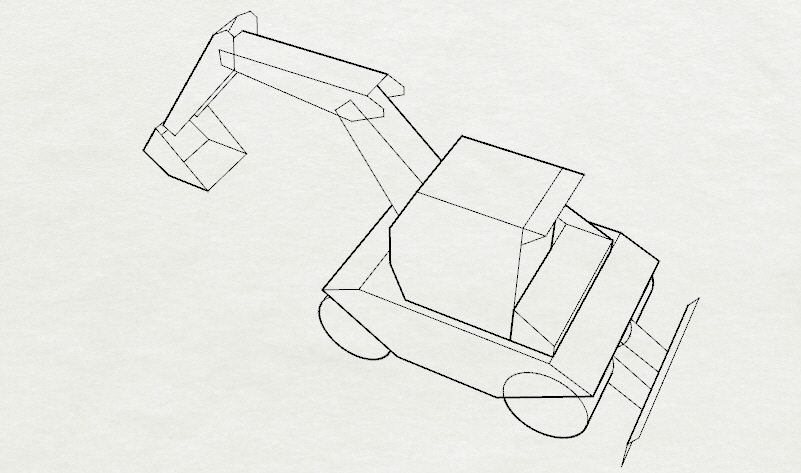
My first task is to look at photos for reference. There’s a good deal of them found online, so that was where I went. Next, I began to construct a basic, simplified drawing from the side. This is the stage where I make decisions on the fly about how to simplify the model.

After the drawing, I had a good idea of what needed to be done. On this particular model, the wheeled base was perhaps the part that needed the most simplification, followed by the roundy part around the cabin. I knew it could not be super realistic, but I know from experience that it’ll still look great when done.
My next step is to go into 3D and discover the basic shapes. I use Rhino 3D (I won a copy in an art contest years ago) and it serves my needs just fine.

I spent a good amount of time making different versions of the rounded hull, and finally decided on a one-level polygon approach. Adding any more detail to the form made the unfolded part too complex.
Here’s an exploded view of how I saw the parts turning out:
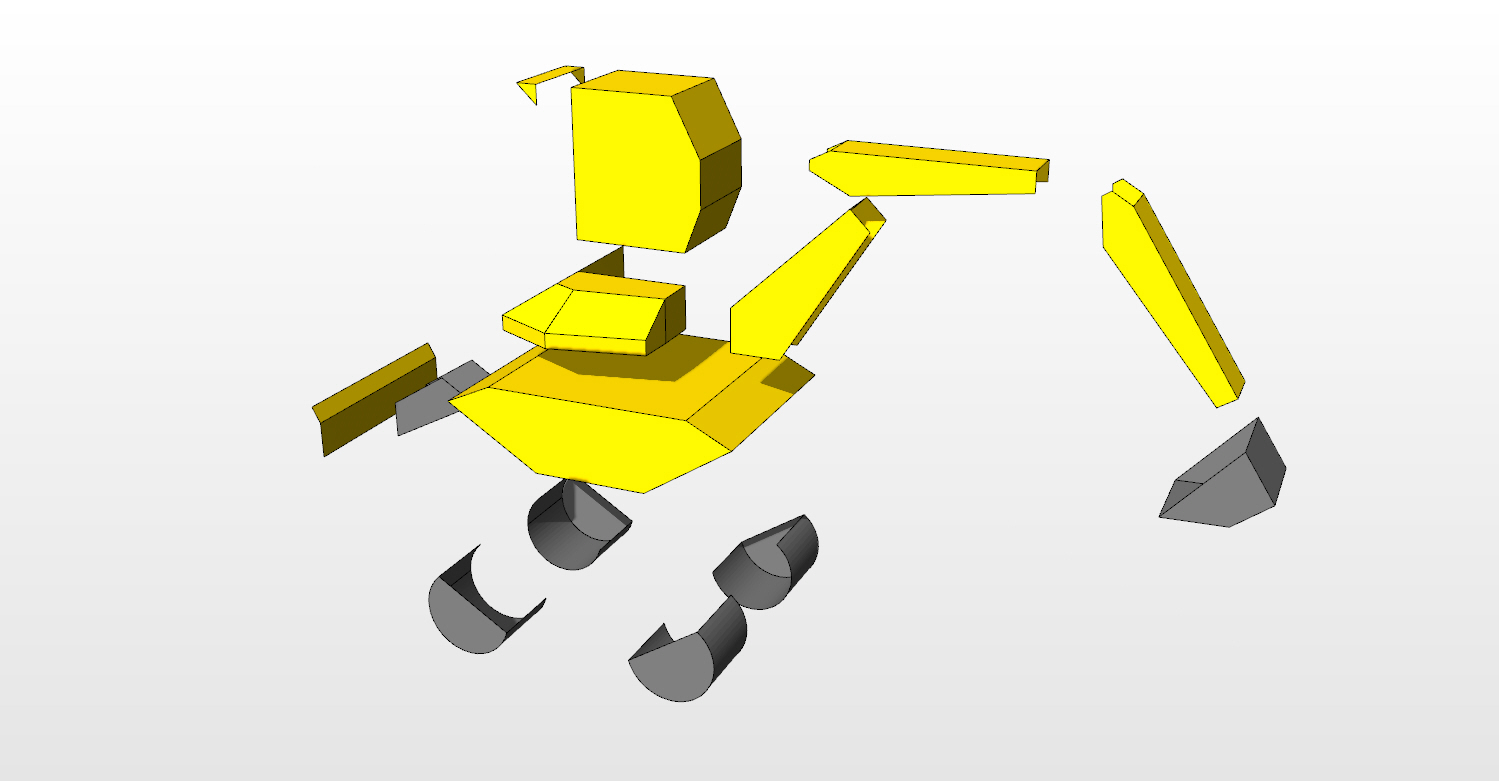
The dual tires on each corner were a big concern for me. It’s fairly difficult to make cylinders in paper, and takes practice to get them right, so I opted for partial-form tires, where one end was open. The exploded-view picture above doesn’t represent the final tire design, so even now I’m still making decisions about the model geometry!
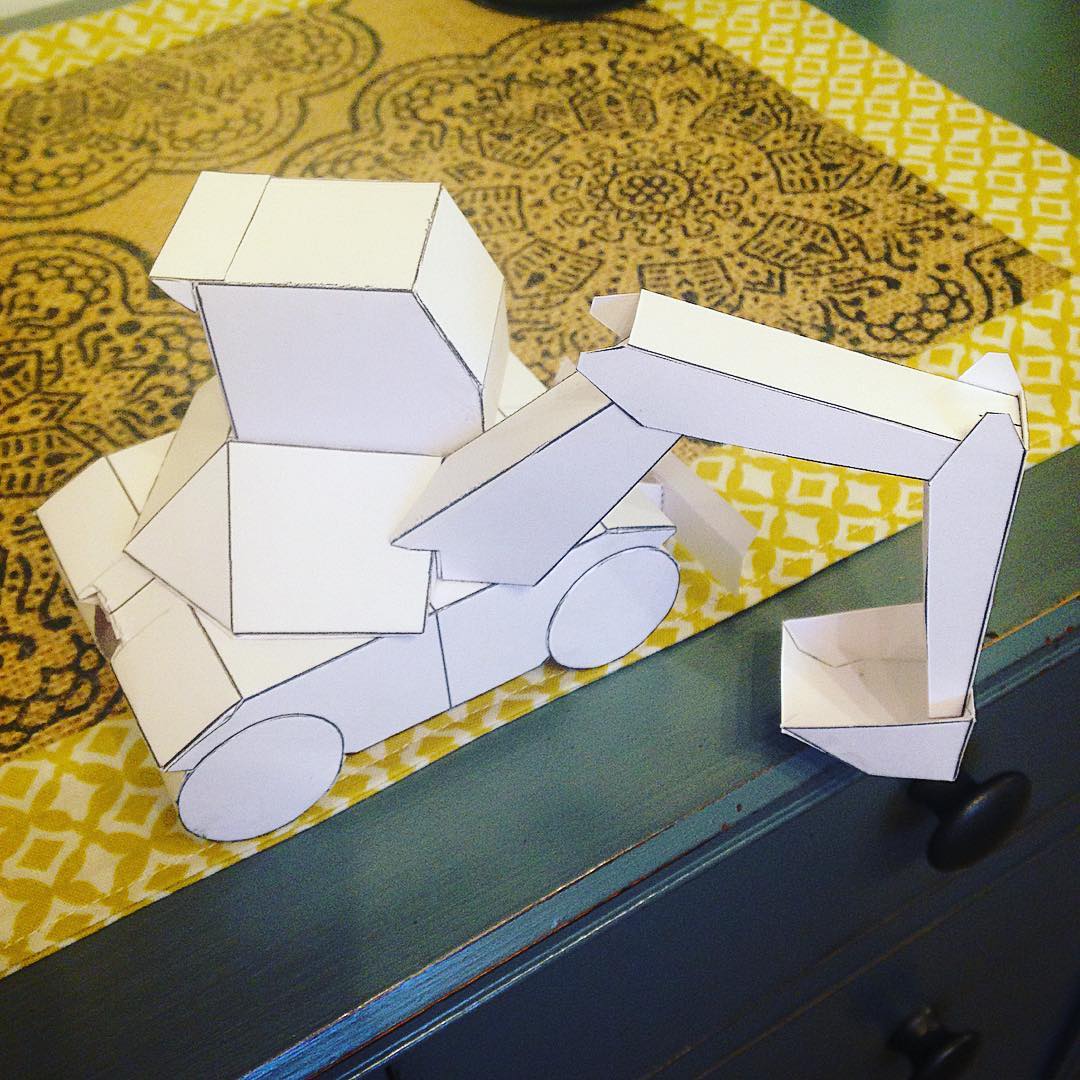
Next step is to unfold, print, and get a mockup built.

It turned out pretty good! You can’t really tell from these pictures, but each of the four wheels have been built in a slightly different way. I’m experimenting to see what is the easiest to build. This is the perfect time to make these changes.
In total, I built 2 white mockups of this excavator paper model before moving on to the next step. After I’m happy with the geometric form, I go into Illustrator and begin working on the graphics. Even at this stage, I’m trying to simplify. It’s a challenge to make a round part look round when it as been simplified to angles. I always create fresh art instead of mapping photos onto the 3d shapes, because the time and cost of getting good, usable pictures of each side is expensive and a big hassle.
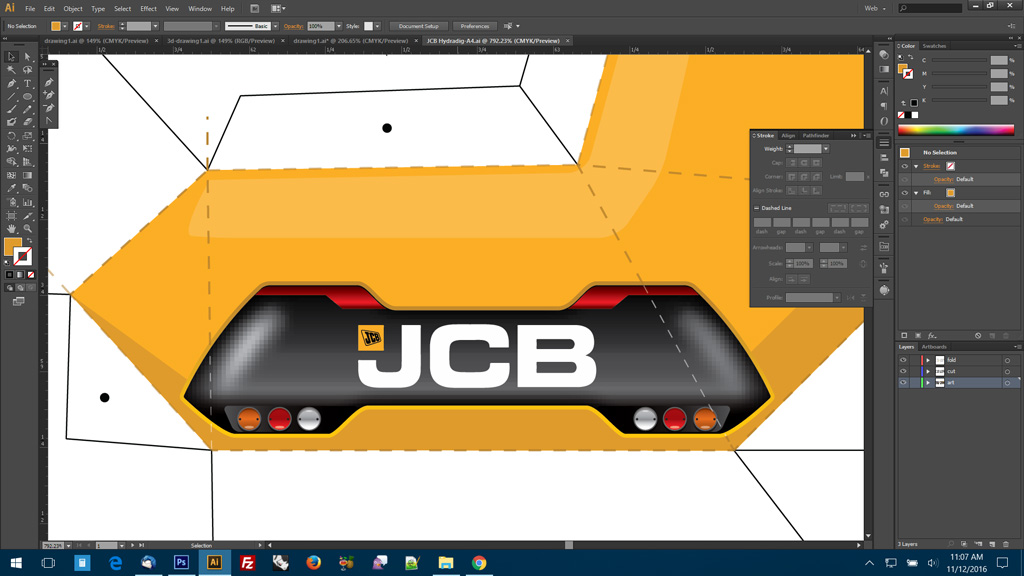
I think that’s looking pretty good, so now I need to build a colored mockup.
First I print and cut out the parts onto heavy 110# paper. Pro tip: The way to get a nice looking finished model is to cut and fold accurately. If the designer (me) has done his work correctly, any model you build will fit well and look great if you follow this tip. You can see how careful I am when I cut out the parts:

Here’s the white prototype model with the new colored parts. This stage of the process is exciting, because I get to see for the first time how realistic it will look.

After cutting and folding everything, I assemble each individual part with white glue. There’s probably better glues out there, but this glue is very common and I like to use commonly-available materials so as to better understand how the target audience will feel when they build a model.
14 parts total!

Overall I’m pretty happy with the results, but as I build I make some notes and use them to make more small tweaks. I’m tweaking things like graphics positioning, and glue-tabs. With this particular design, I did not have to make a second color prototype, because the first one was 95% of the way to being just right.
The second and third prototypes shown here, together. The colored art really makes a difference!

Being limited to two pages makes for a small finished model. There could have been even more details -more small parts added, but I know that normal people have a difficult time with small parts, and it looks great for the purpose already.
“Scale modelers” who can do fine detail are a pretty small group and so far no customer of mine has any need to target that audience.

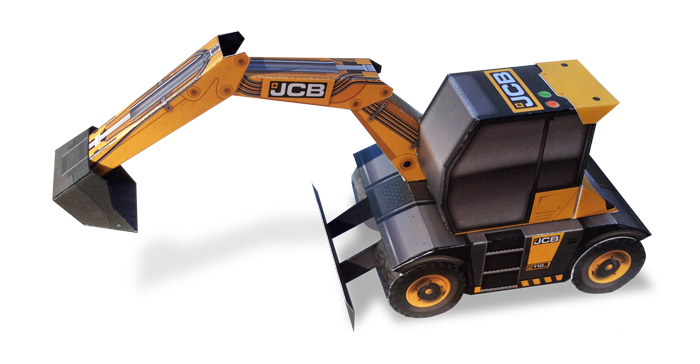
The completed model, hard at work:

Grienshields JCB has published the model here.
I hope you enjoyed this story about how a paper model is made from start to finish. I would love to build a paper model for you as well. They make great desktop promo items, handouts, or rewards/incentives for online actions. Please contact me today to learn more!
Tags: construction, equipment, excavator, hydradig, jcb, promo
Posted in custom, paper models, promo, work in progress | 1 Comment »