Creating the El Camino paper model, start to finish
October 21st, 2016My friend who runs a promotional company contacted me the other day about making another classic – a 1968 El Camino SS. Of course I was excited. The El Camino is such a monumental car in American muscle-car history, it’s unique and popular among car buffs and collectors.
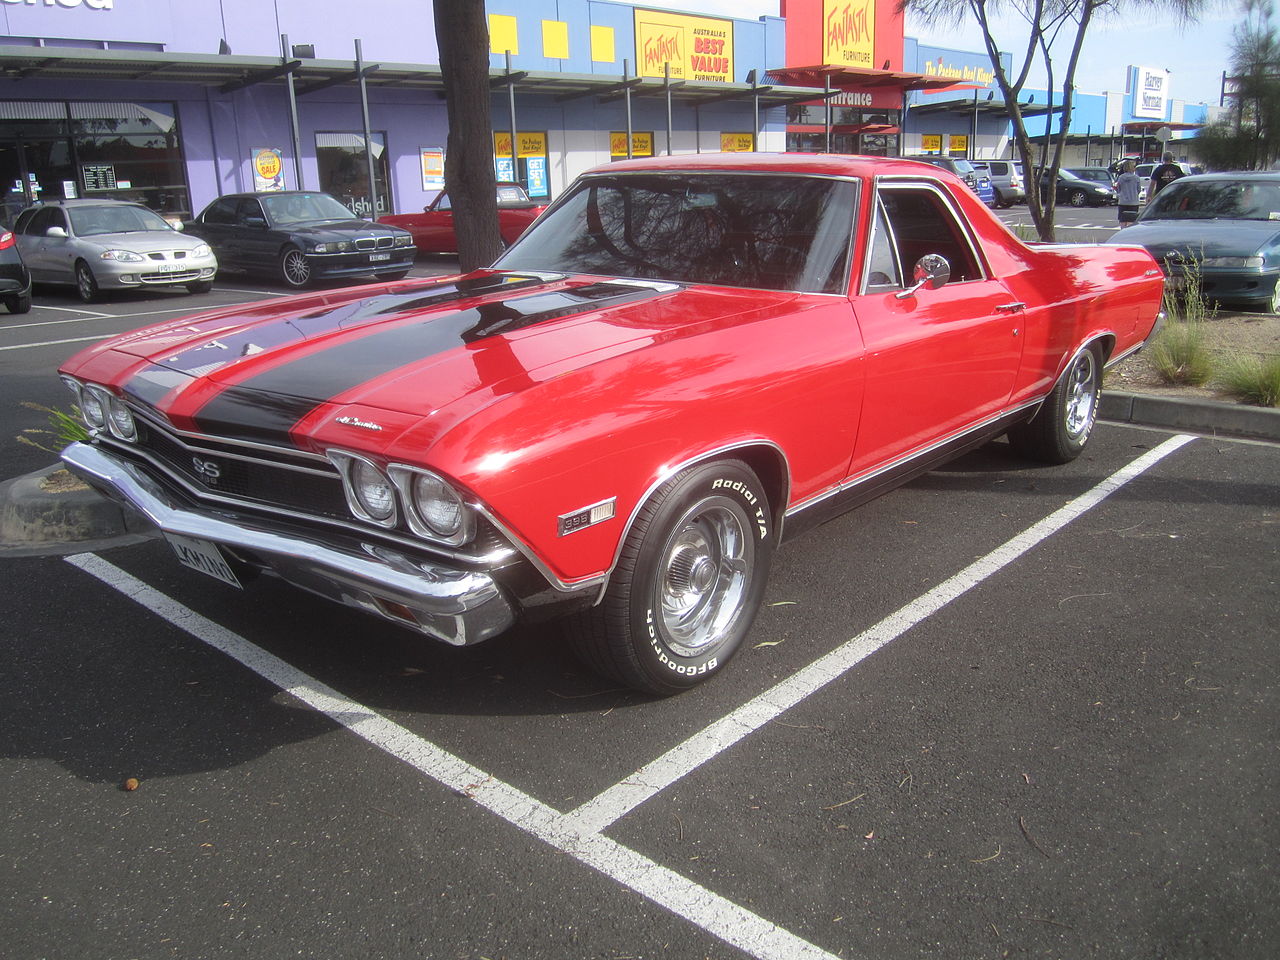
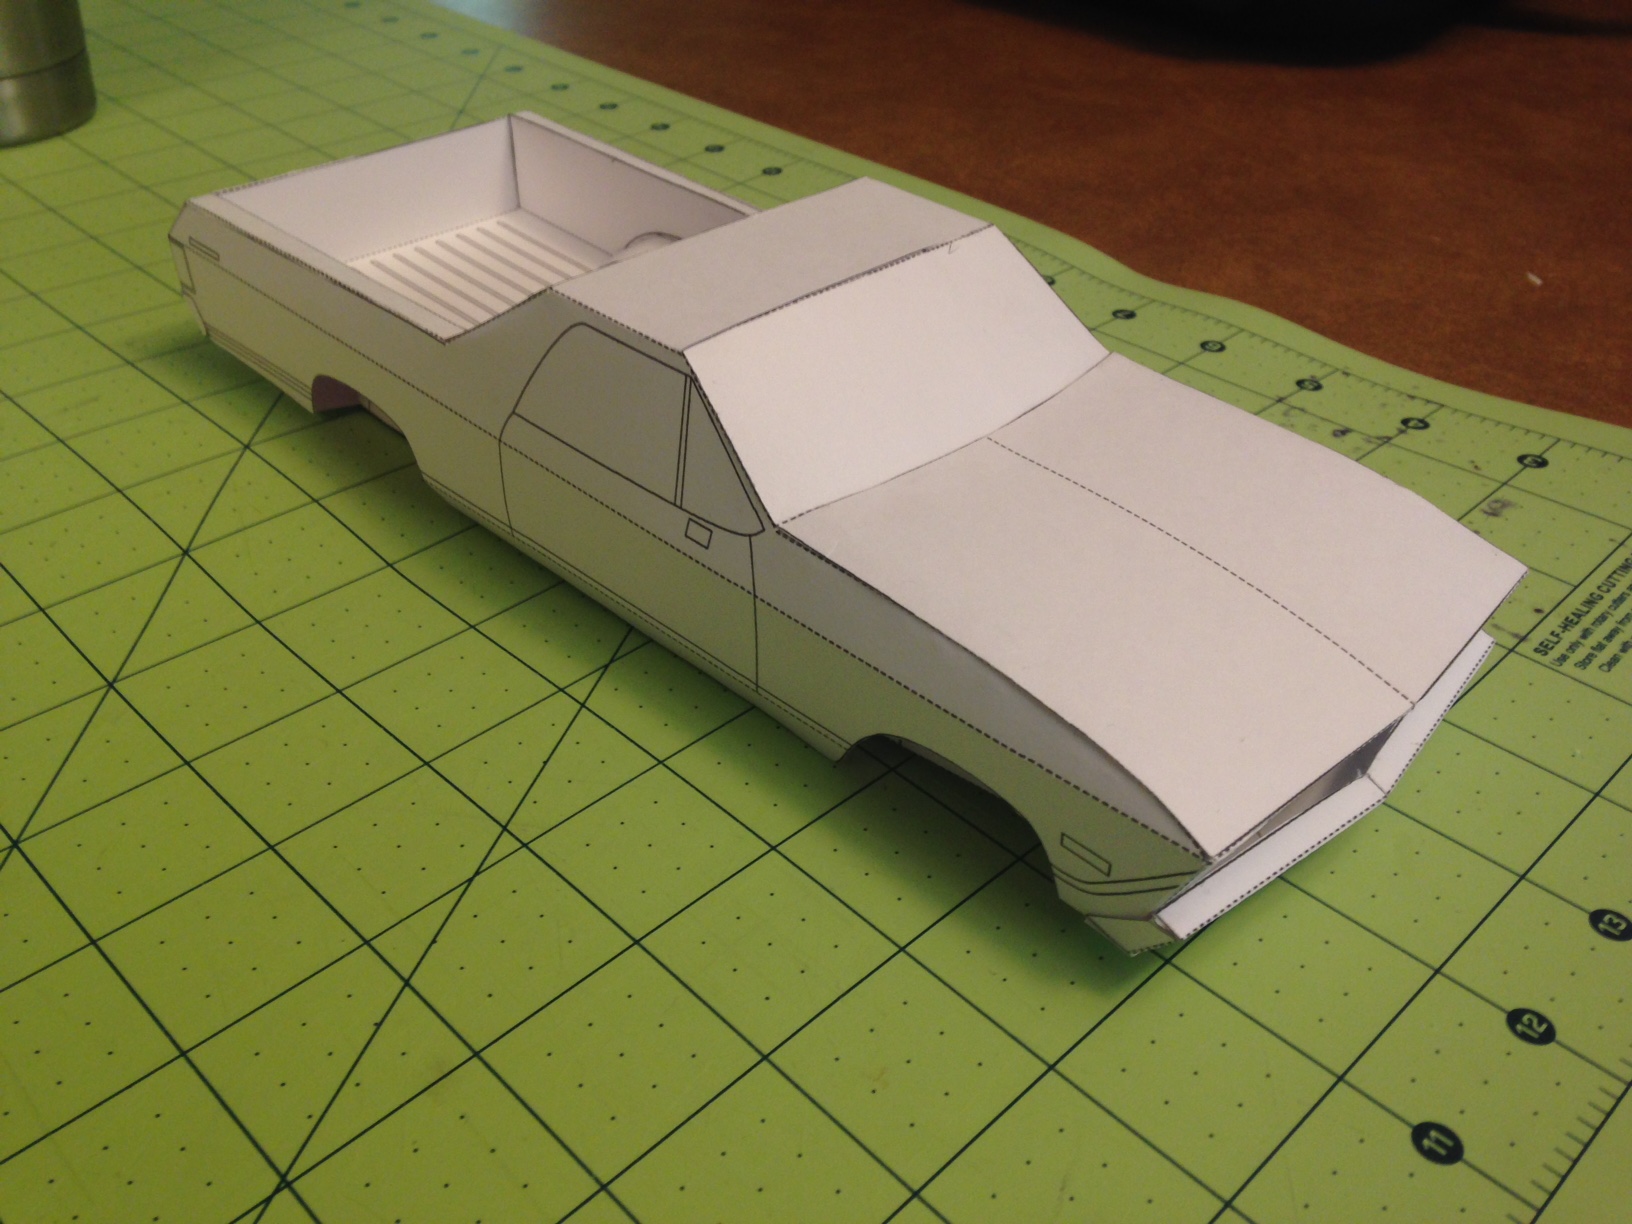
I knew right off what the challenges would be – some curves, and most of all, the cargo bed. In the past with simple pickup models, I’ve build the cargo beds as double sheets, sandwiched together to get printing on both sides. This model will be all true 3D, so that method won’t work here.
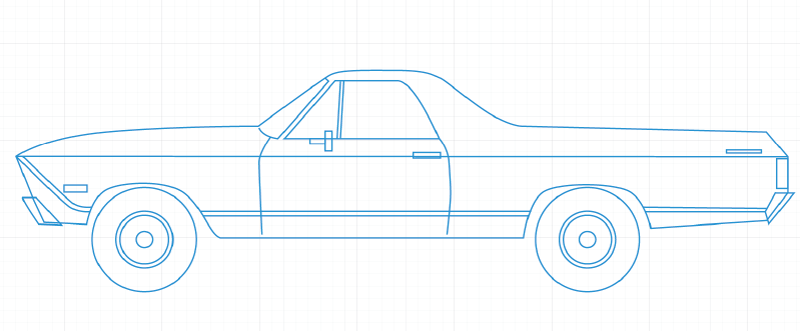
First step: look at photos online! Then I open up illustrator and sketch out a profile view:
That looks good to me, so I bring it into my 3D program and spend a good deal of time trying to make an easily build-able shape. I went online again to look up the dimensions of the car so that I could get the ratio of width to length correct. I found this PDF which was very helpful: 1968 Chevrolet El Camino
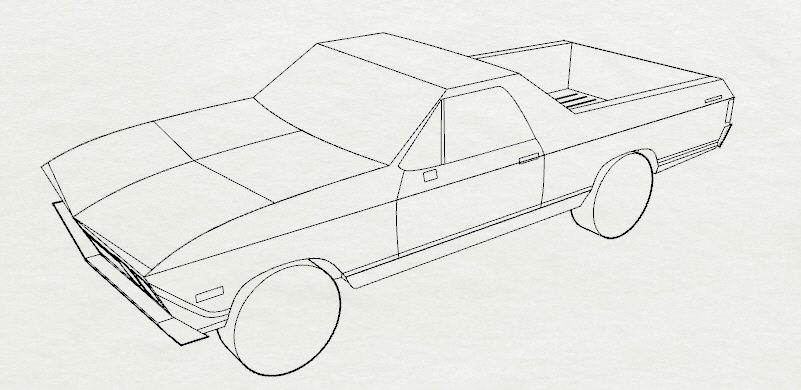
It’s looking good! But the real challenge will be how to break it apart.
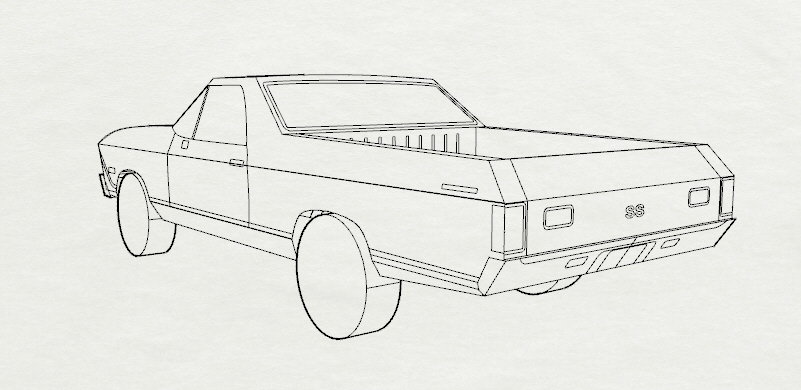
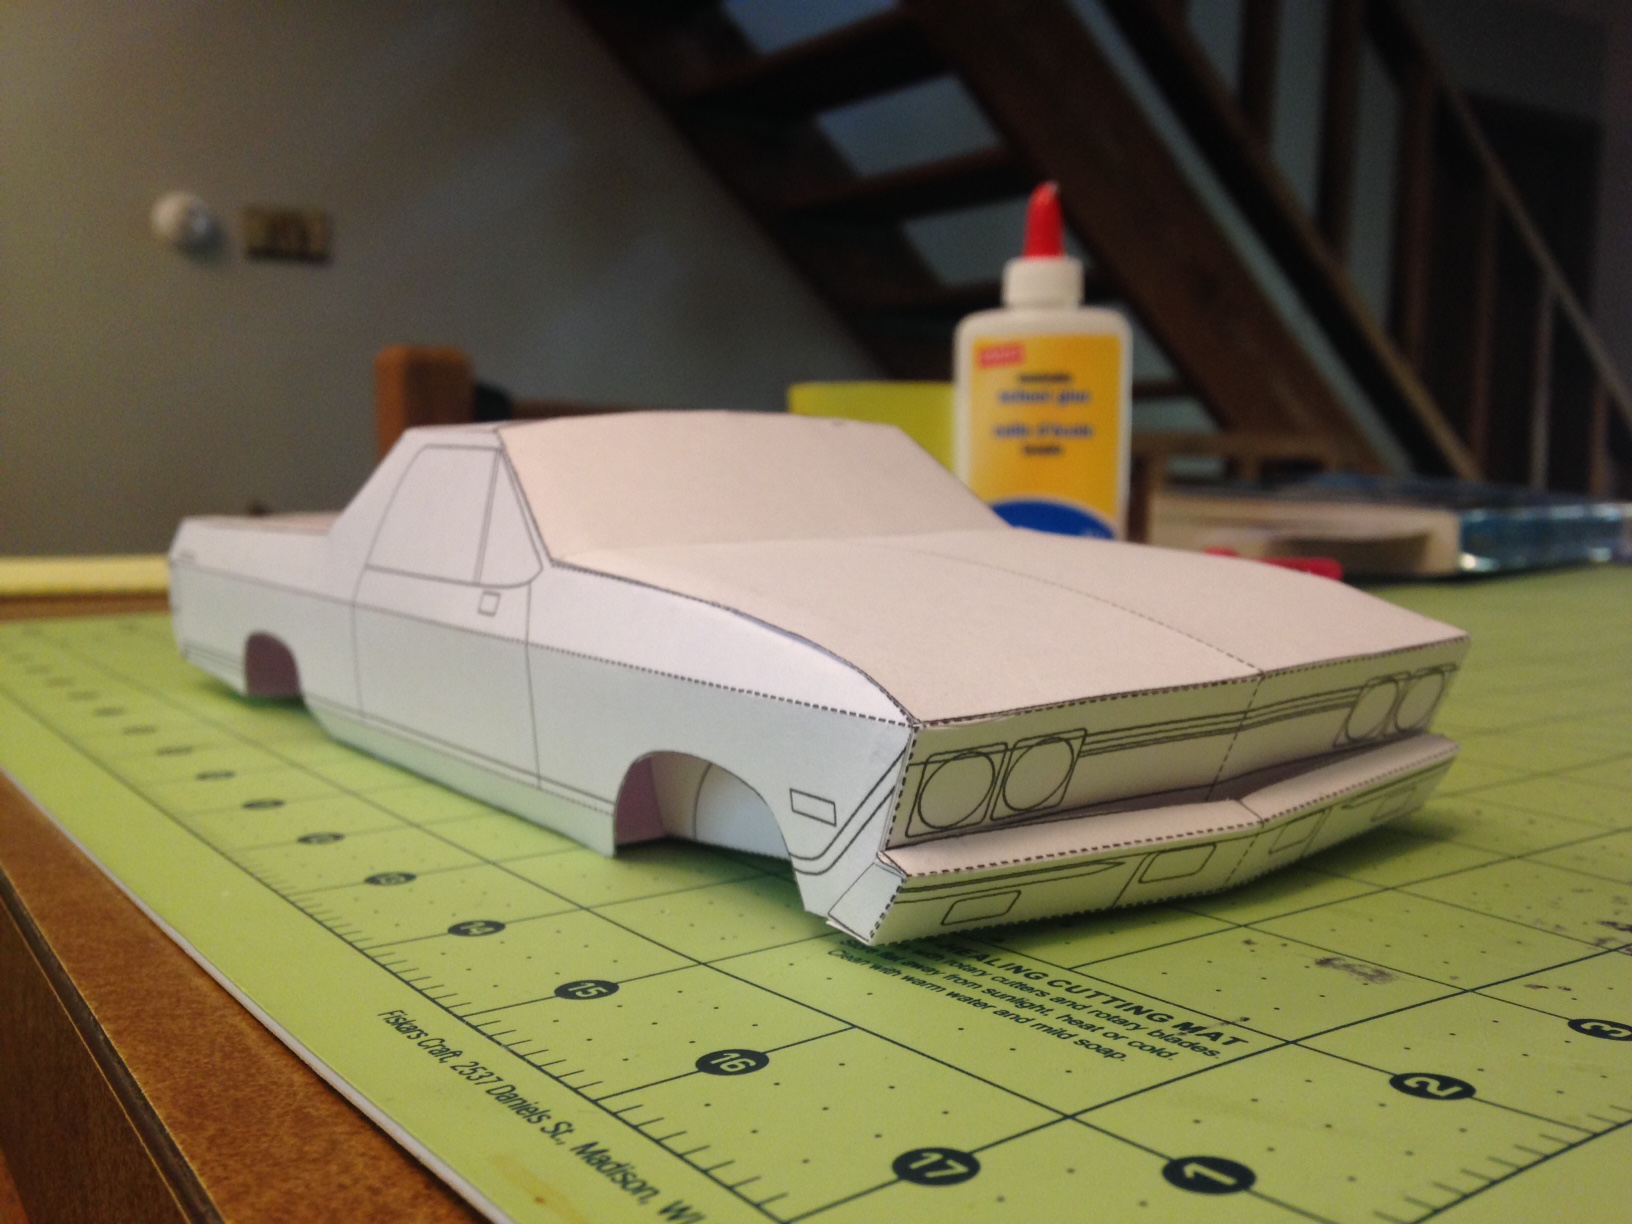
My first prototype looked pretty good, but I struggled with the cargo bed, it was really tricky to build, even for me. I needed to change how it was unfolded.

The little plastic clamps are quite good at making the paper model building process easier They are very cheap as well and come in packages of 6.

Font:
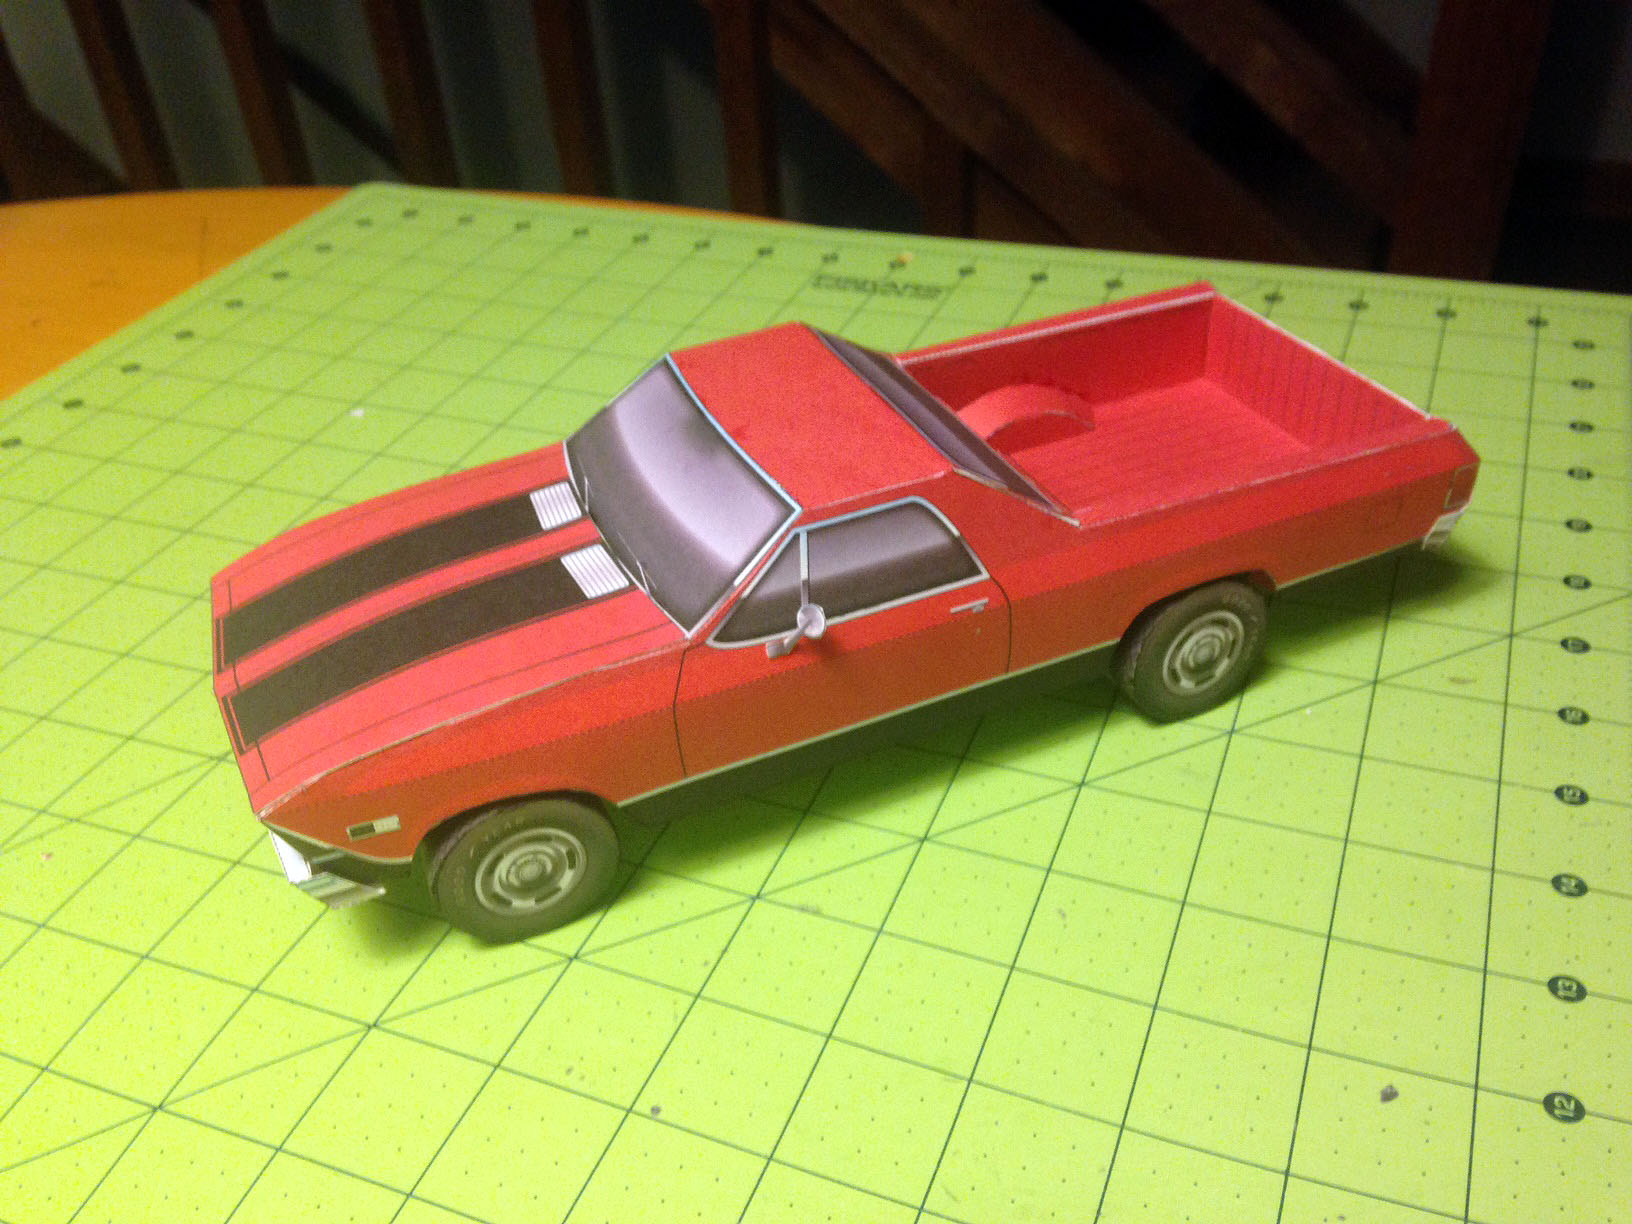
Cargo bed area:
As I’m building it, I take notes and have modifications rolling around in my head that will make it easier to go together. There’s always a great deal of changes made to the model’s form at this stage.
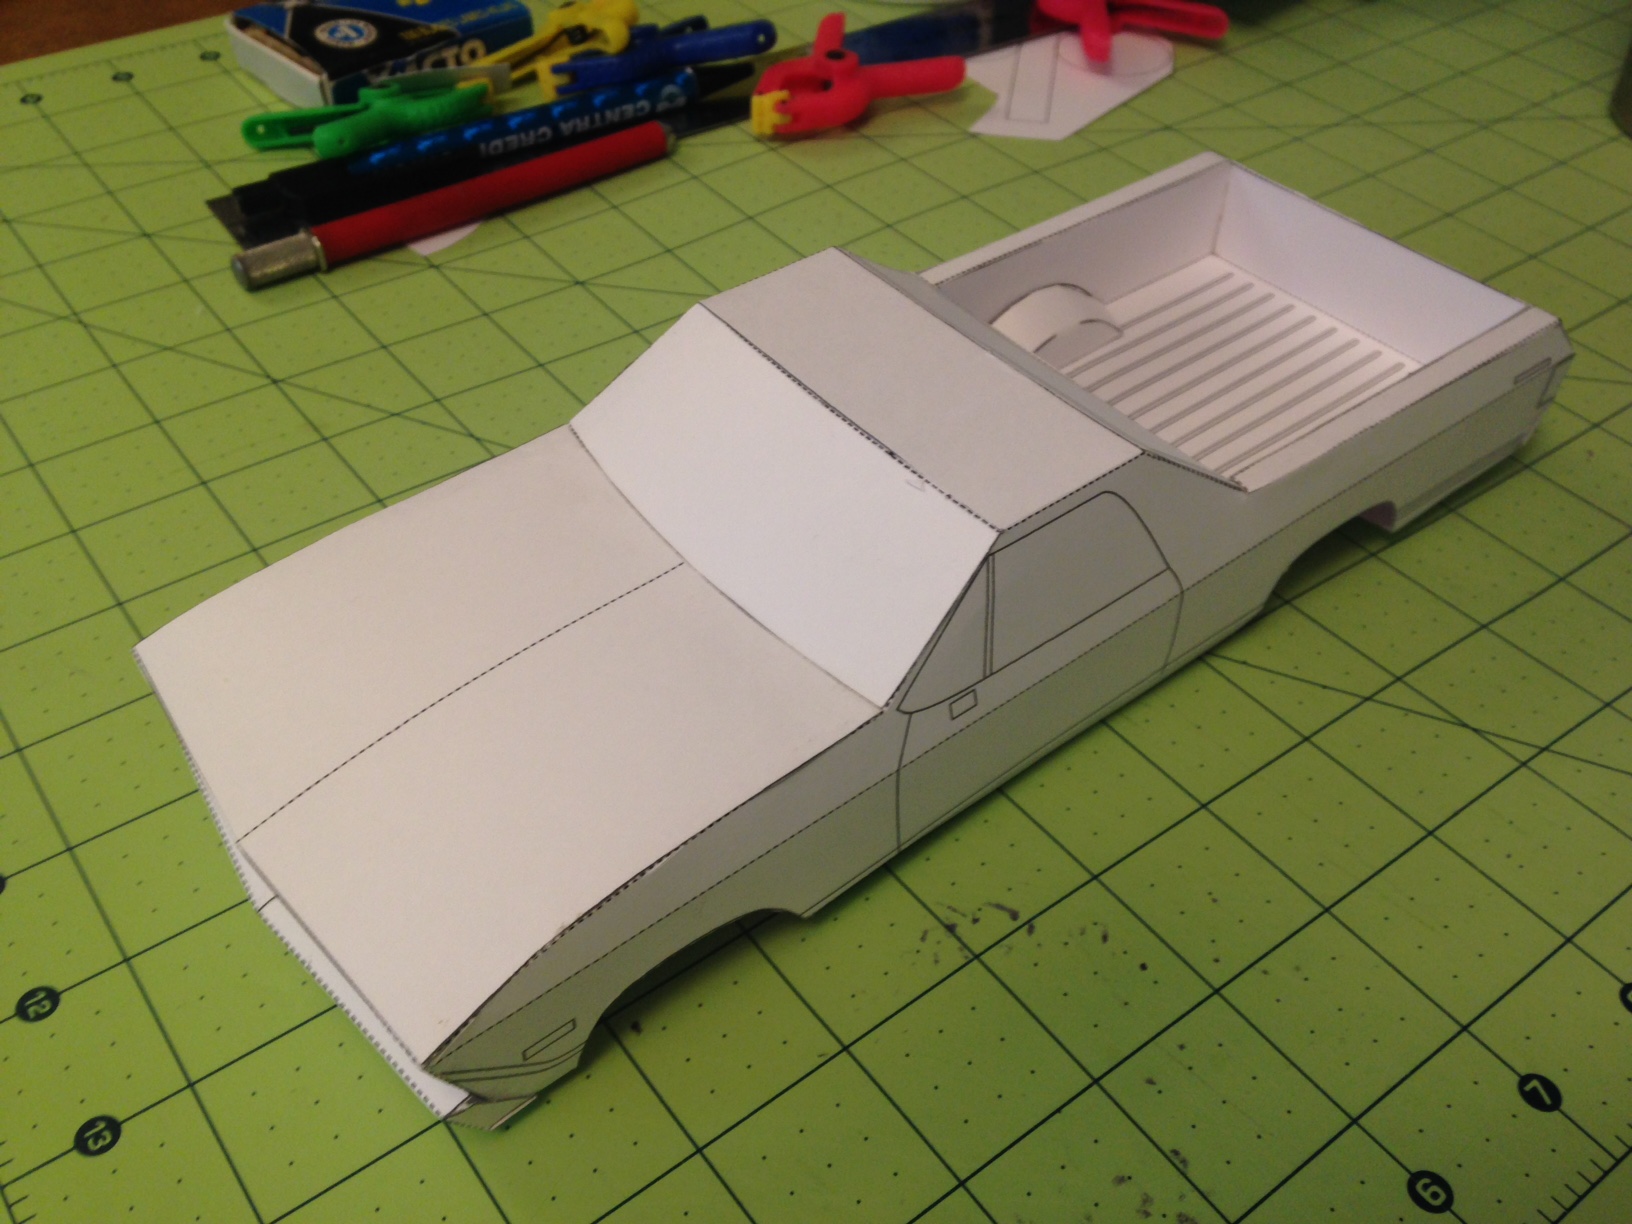
I go back tohe conputer and make changes, completely redoing how the cargo bed pieces together. Then I built another prototype, and changed it a little bit again.
Then, I spent a few days in Illustrator working on the artwork. Looking at lots of photos on google images was key.
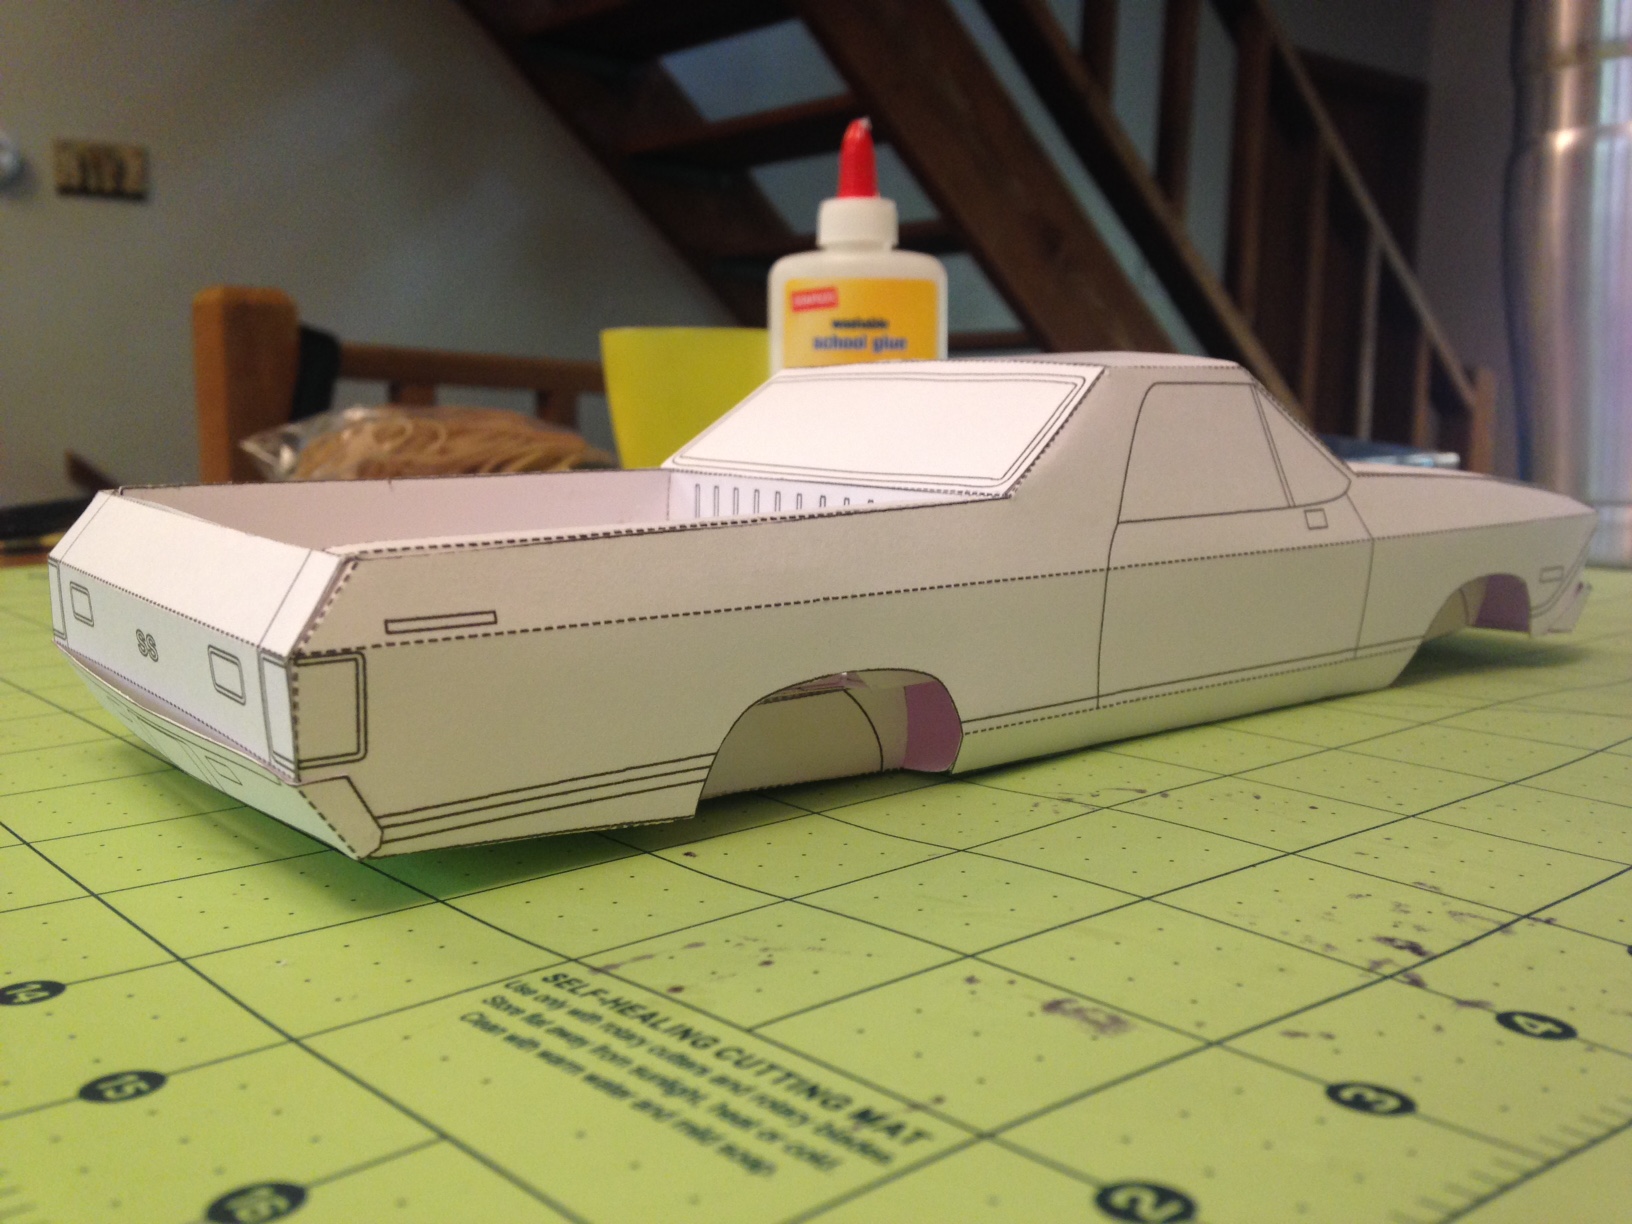
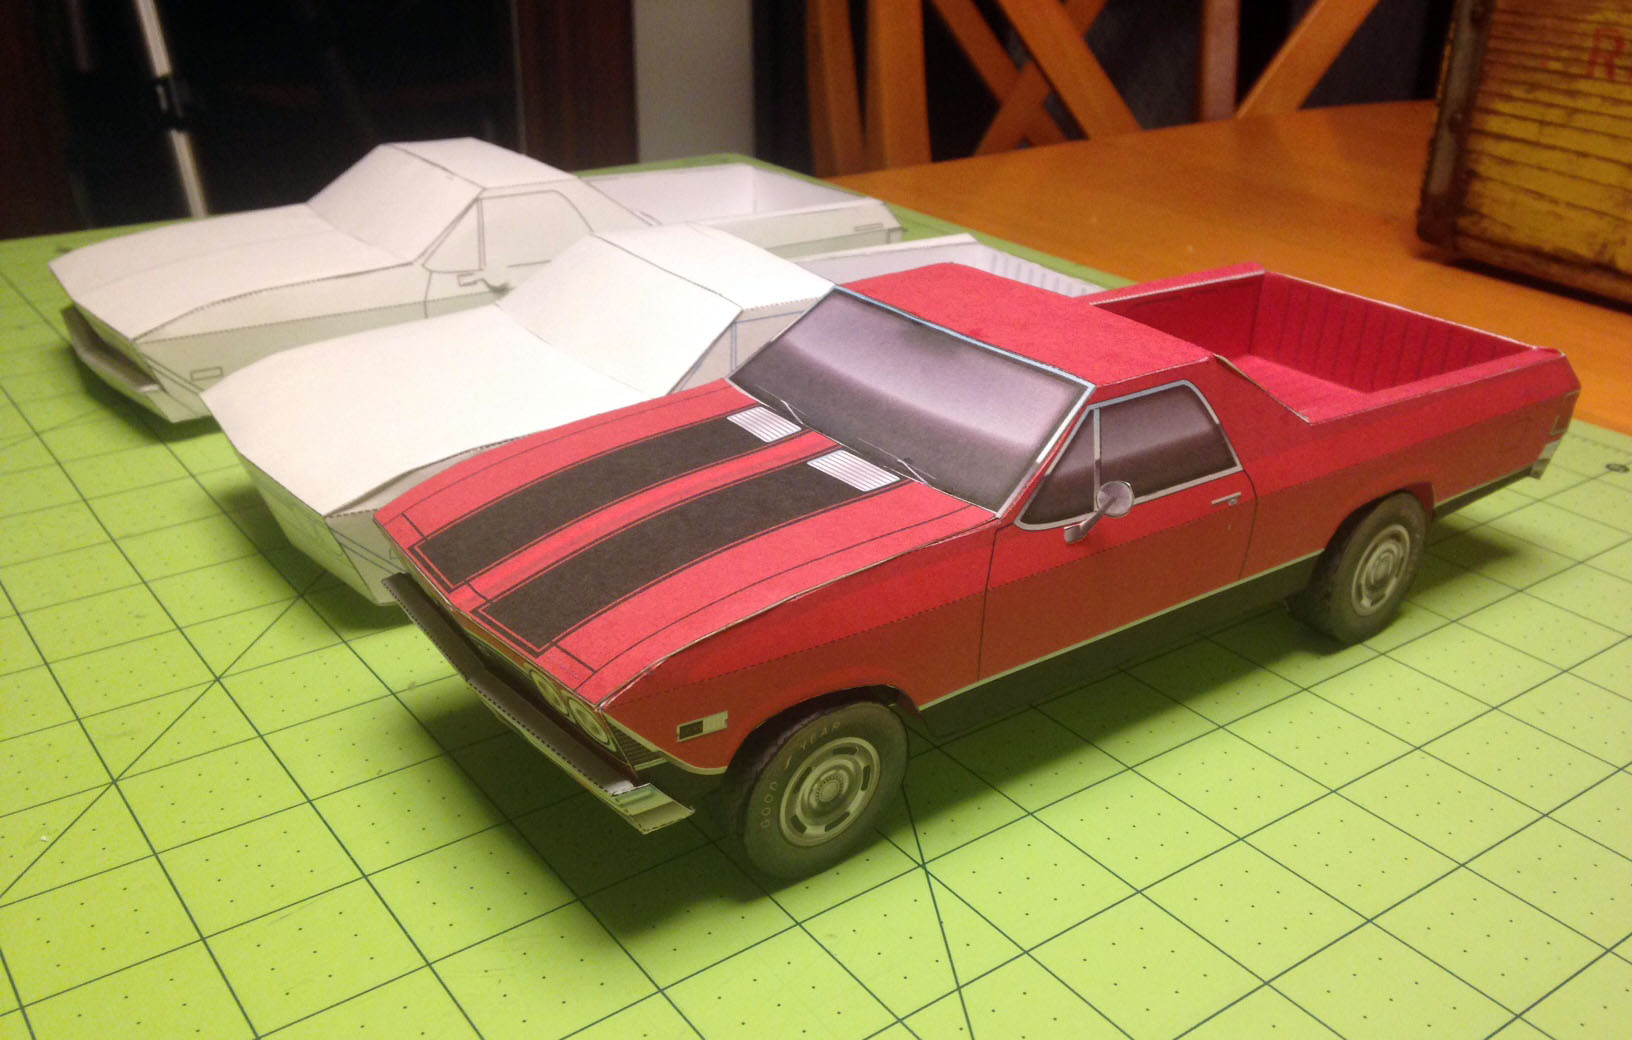
The finished result with the two prototypes:
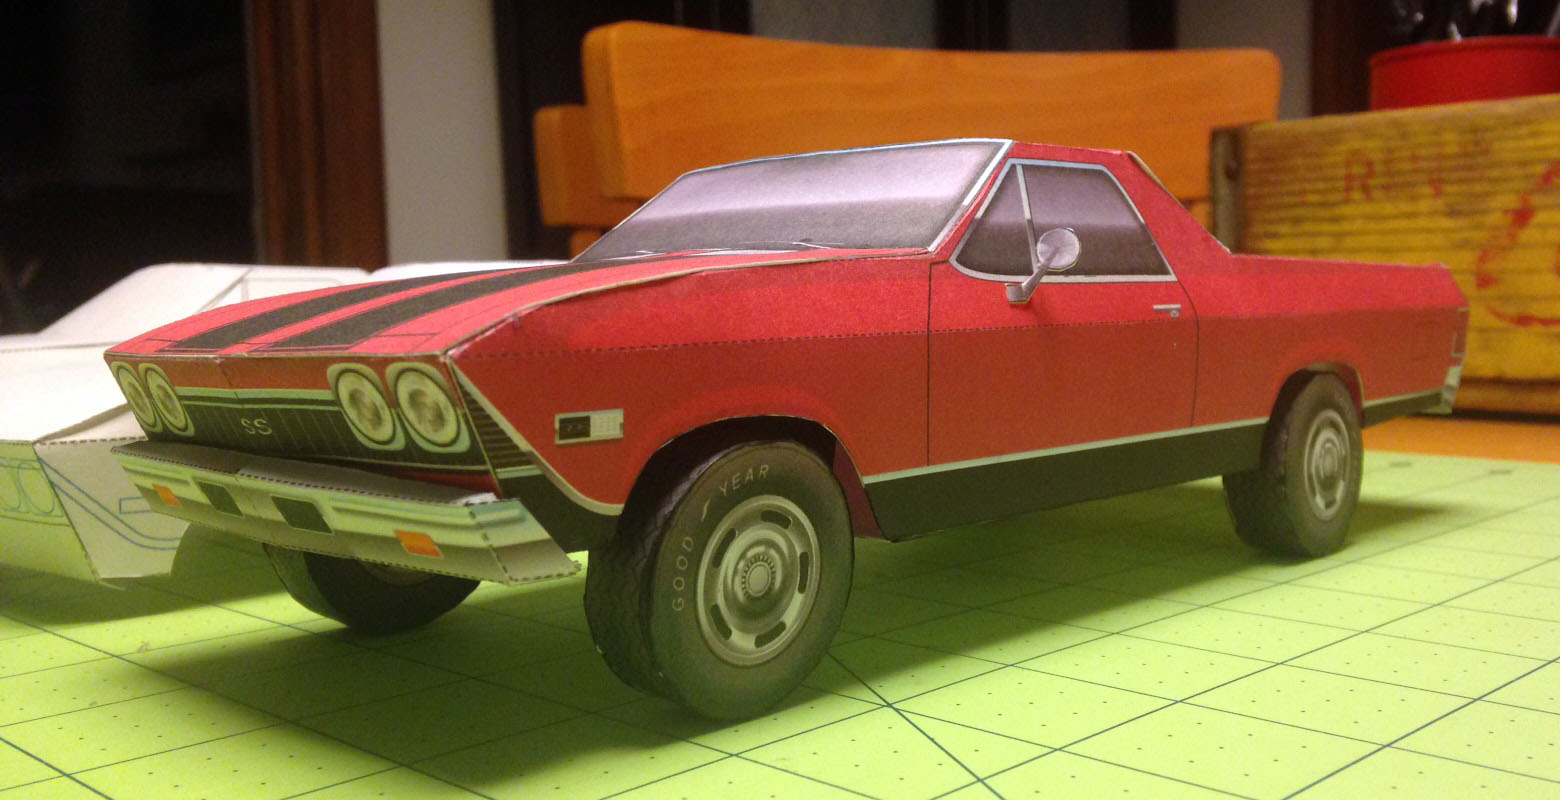
I made even more changes after building the final model. The changes were pretty minor, so there’s no need to build another one, as most people would not be able to notice what was changed. I don’t know if you’ve ever built a model that did not go together right, I have – I think that maybe some designers don’t even build the models they create!

I hoped you enjoyed reading about the process of designing a paper model El Camino.
Good news – this will be released free to the public!
Tags: camino, classic, elcamino, Muscle Car, papercar, papercraft, papermocel, work in progress
Posted in custom, paper models, pickup, work in progress | No Comments »